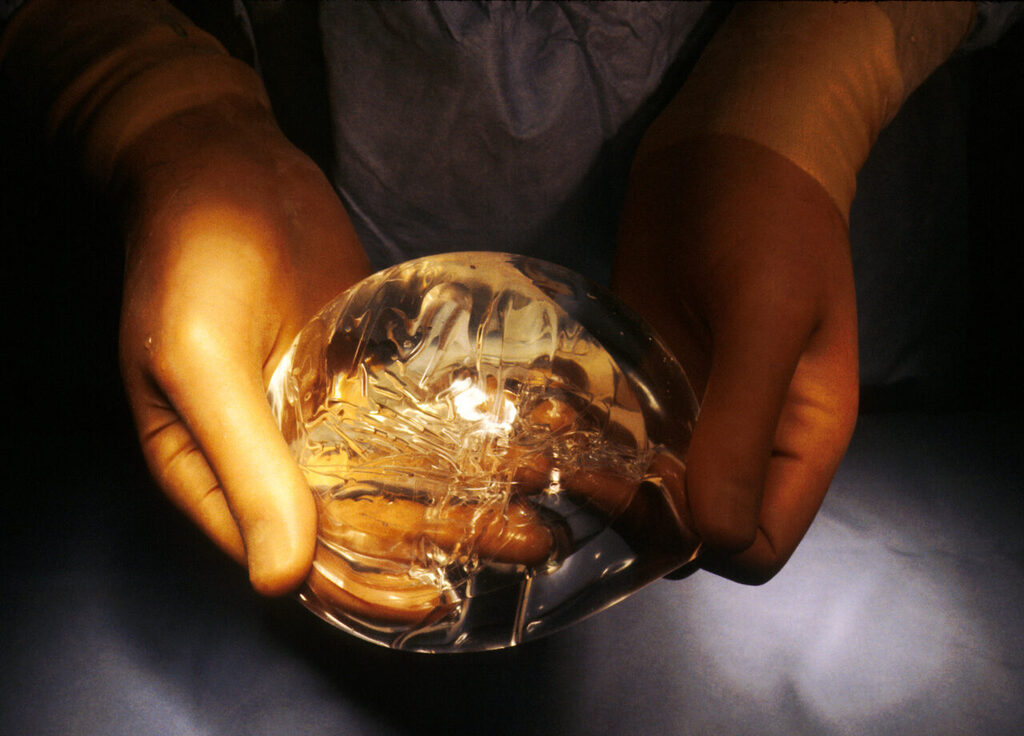
The longest part of a breast augmentation consultation isn’t explaining the operation, it’s choosing the implant. Patients usually arrive with a photo: “I want it to look like this.” If the person in the photo has a different height, shoulder width, rib cage and existing breast tissue from the patient, the same implant won’t give the same result. That’s why the choice isn’t like picking a size from a catalogue; it’s a calculation made for your body, based on a handful of criteria. Below we go through those criteria in the order we discuss them in the consultation.
1. Volume: why “how many cc” is a misleading question
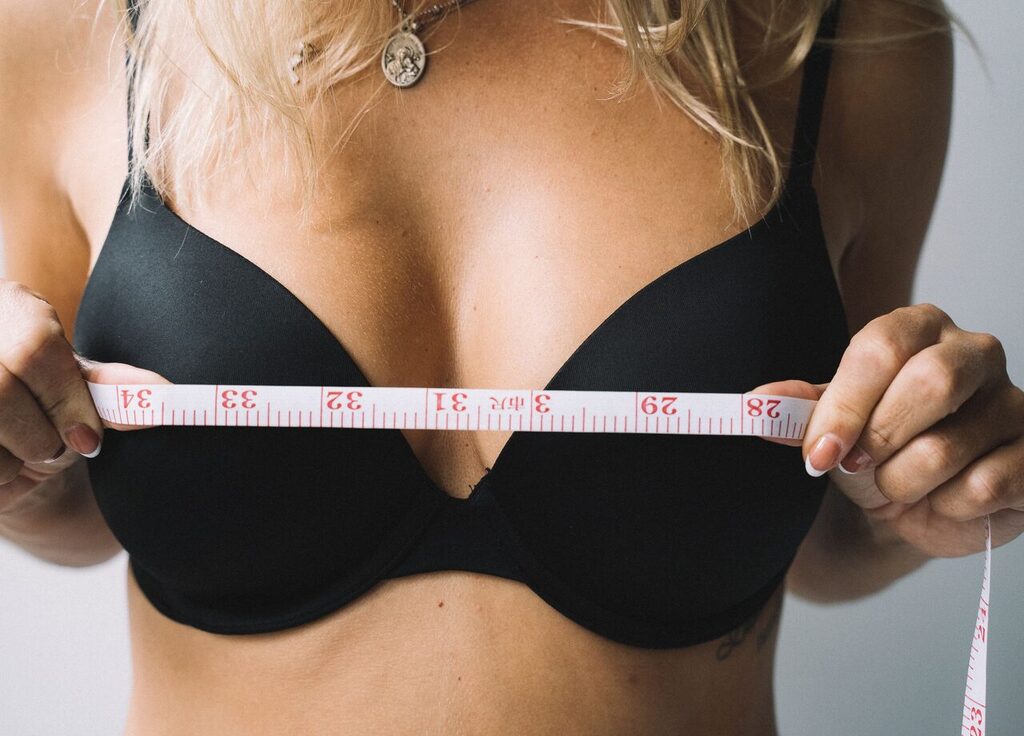
The first question is almost always about volume: “Is 300 cc big?” The answer depends on who it’s going into. The same 300 cc creates a noticeable increase in a slim woman with a narrow chest, and is barely perceptible in a tall woman with broad shoulders. So the first thing we do is measure the width of the breast base in millimetres. The implant’s base diameter cannot be wider than your breast base; if it is, the implant spills towards the armpit or the midline and never looks natural. This measurement sets the range of selectable volumes by itself.
Then there’s the matter of bra size. Wanting to “go up a cup” is understandable, but bra sizes vary so much from brand to brand that they can’t be used as a planning measure. In the consultation we let you see different volumes under clothing using sizer implants placed inside a bra. Most patients settle on a different volume from the one they first mentioned after this trial; sometimes larger, more often smaller.
2. Shape: round or teardrop?
Implants come in two basic shapes. A round implant is symmetrical in every direction, adds fullness to the upper pole as well and emphasises the cleavage line. An anatomical or teardrop implant is fuller at the bottom and slopes at the top; it mimics the profile of a natural breast. Anatomical sounds more natural, but in practice it’s a little more complicated.
When standing, a soft-gel round implant also takes on a teardrop shape under gravity; the difference between the two types in the upright position is smaller than people assume. The anatomical implant, meanwhile, carries a risk of its own: if it rotates inside its pocket, the breast shape is distorted and surgery is needed to correct it. For that reason we reserve anatomical implants mainly for patients with very little breast tissue who don’t want the upper pole to look overly full. In most patients with existing tissue, a round implant gives a natural and safe result.
3. Profile: same volume, different projection
This is the criterion patients know least about. Two implants of the same volume can have different base diameters and different heights. A low-profile implant is wide and flat; a high-profile implant has a narrower base and projects further forward. In a patient with a narrow chest, the way to reach the desired volume without exceeding the base diameter is to go up in profile. In a patient with a wide base, a moderate profile sits in better balance. The profile decision rests entirely on measurements; it can be nudged a step or two according to whether the patient prefers “natural” or “defined,” but anatomy draws the boundaries.
4. Surface and fill: smooth or textured?
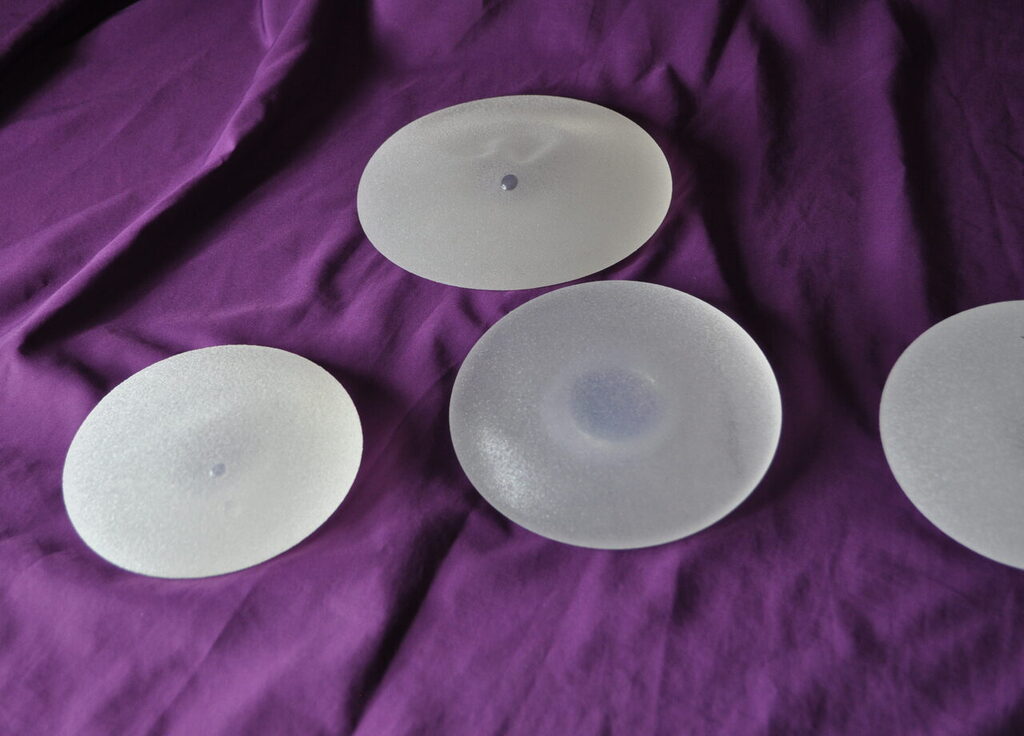
Almost all implants used today contain cohesive silicone gel; even if the shell tears, the gel doesn’t spread. Saline implants are no longer preferred except in special cases, because they feel less natural and are more prone to rippling.
The surface question is more debated. A textured surface stops the implant from shifting in its pocket and is mandatory for anatomical implants. After 2019, however, some products were withdrawn from the market because of a rare lymphoma associated with certain coarsely textured surfaces. Today, for round implants, we prefer smooth or micro-textured surfaces. We tell each patient clearly which brand and surface type will be used, and we hand over the implant card. Keeping that card makes the checks you’ll have years later much easier.
5. Placement: under or over the muscle?
This is about where the implant goes rather than the implant itself, but it directly affects the choice. With subglandular placement the implant sits directly beneath the breast tissue, on top of the chest muscle. It causes less pain after surgery, and for people who exercise there’s no issue of the implant moving when the muscle contracts. In patients with thin breast tissue, however, the edges of the implant can show and the risk of rippling in the upper pole rises.
With submuscular placement the upper part of the implant sits beneath the chest muscle. The upper pole is covered with a softer transition, mammograms are easier to read, and the risk of capsular contracture is somewhat lower. There’s more tightness and pain in the first weeks and recovery is a little longer. In most patients we use the dual-plane technique, a mix of the two: the top of the implant lies under the muscle, the bottom under the breast tissue. The plane is determined by the tissue thickness we measure with the pinch test; below two centimetres, going under the muscle becomes almost obligatory.
The incision site is a decision too
There’s one more topic outside the five criteria that comes up a lot: where does the implant go in? There are three options. The incision in the fold beneath the breast is the most common; it gives the best view, suits every type of implant, and the scar hides in the crease. The incision around the nipple heals almost invisibly if the areola is wide enough, but because it passes through the milk ducts it carries a small additional risk for breastfeeding and sensation. The armpit approach leaves no scar on the breast at all, but isn’t suitable for anatomical implants or large volumes. For most patients we recommend the fold beneath the breast; a four-to-five-centimetre scar turns into a thin, pale line after a year.
Is fat transfer an alternative to an implant?
This alternative comes up often these days. Taking your own fat from the abdomen or thighs and injecting it into the breast appeals to patients who don’t want a foreign object. But its limits are clear: the volume gained in a single session usually stays around half a cup size, part of the injected fat is reabsorbed, and it can’t be done in slim patients who don’t have enough fat to harvest. For a patient who wants a noticeable increase, it isn’t enough on its own. Used alongside an implant, though, it’s very useful: an ideal complement for softening the implant’s edges, filling hollows along the cleavage line and balancing small differences between the two breasts. So the question is usually not “implant or fat” but “should fat be added to the implant.”
What happens in the consultation?
The first appointment takes about forty-five minutes. First we listen to your expectations; the photos you bring are useful, because the word “natural” means something different to everyone. Then measurements: breast base width, nipple-to-fold distance, tissue thickness, the difference between the two sides. In almost every woman the two breasts differ slightly; we identify this difference beforehand and sometimes balance it by placing different volumes on each side. Then a trial with sizer implants inside a bra. In the end it comes down to two or three options, and we make the decision together.
One more thing: you won’t leave the consultation under pressure to “decide today.” Many patients take the measurements and recommendations away, think for a few weeks and come back. There’s no advantage to rushing this operation; an operation done with the right implant stays with you for years.